
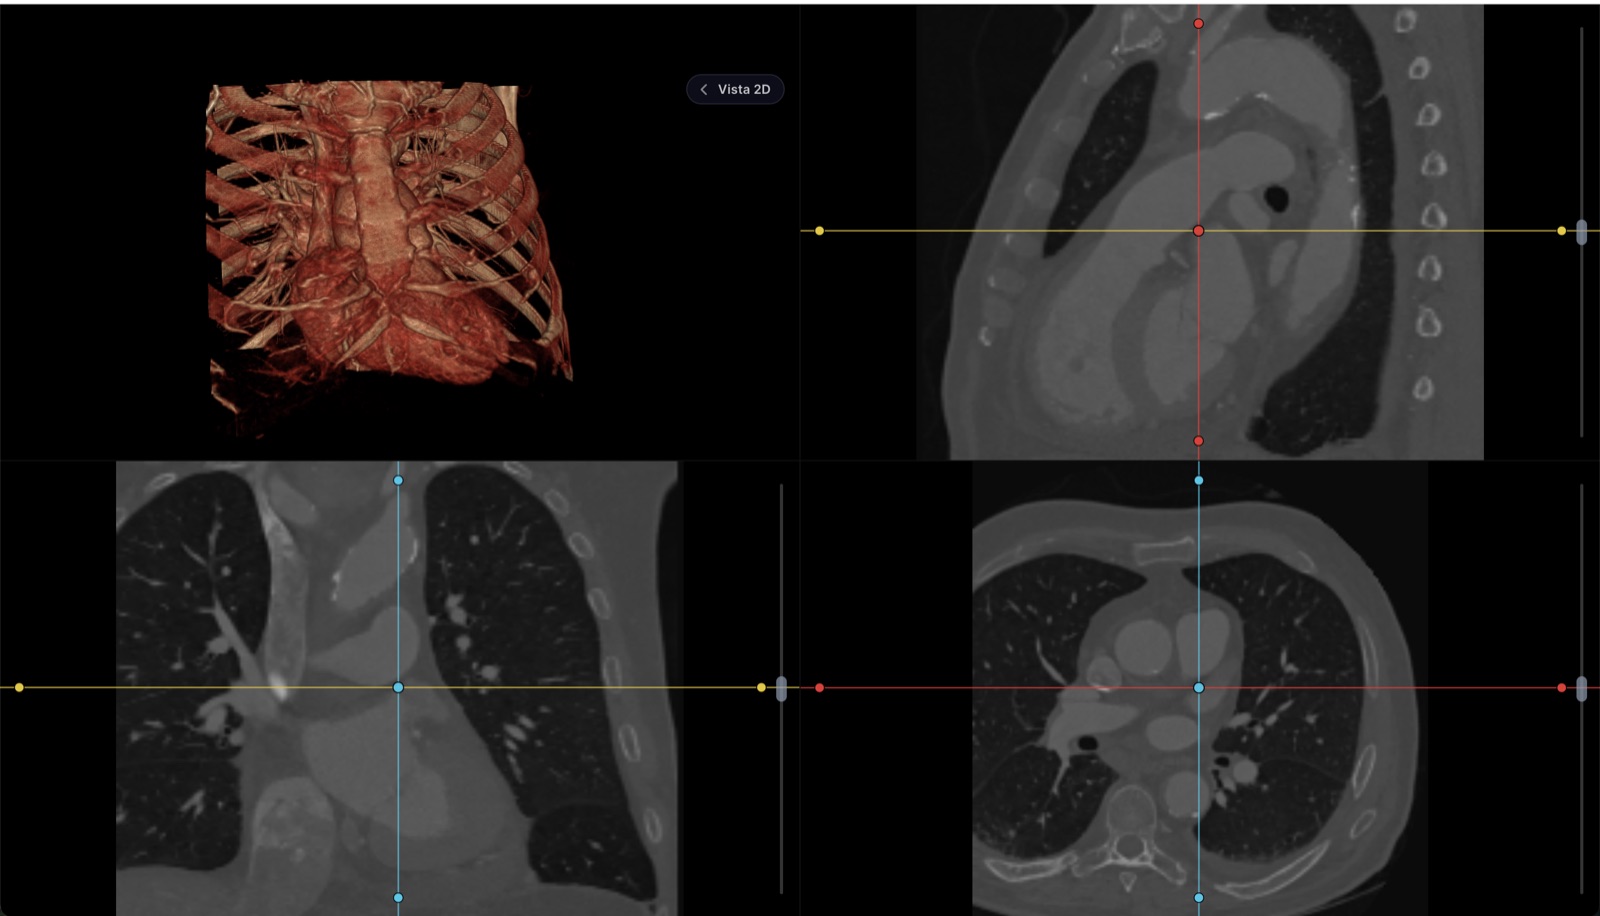
To view it, your study is not uploaded anywhere
The file is read and drawn inside your browser. It doesn't travel to our servers. Neither do your measurements or your report: they live in this tab's memory and vanish when you close it, so they leave no trace even on a shared computer. The only thing that leaves is what you choose to send: if you request the link for your doctor, the study is encrypted on this very device before upload, the key travels inside the link and never reaches us, and the file is deleted when it expires. We do keep a tally of the visit itself — how many files you opened, how much they weighed, how long it took to render and whether anything failed — so we know the viewer is doing its job; never the file names, never anything inside them.
Not for primary diagnostic reading
A formal diagnosis is issued on radiology-calibrated monitors. This tool is for reviewing, measuring, comparing and walking your patient through the study — not a replacement for the reading station.
Free, no account
View any DICOM or NIfTI series, or the PDF that comes on the CD
Window and level, zoom, cine and series comparison
Measurements in real millimeters, angles and annotations
Multiplanar reconstruction (MPR) and 3D view
Write the report and export or print it
Download your own files as a zip
Needs an account
Save the study to a patient's record
File the signed report next to the visit note
Keep measurements and key images across sessions
Receive studies straight from your machines via worklist
Share the study with the patient without burning a CD
Quick answer
How to convert DICOM to JPG, step by step
Open your study in the viewer on this page
Click “Open my study” and select the folder from the CD or USB stick, the .zip (or RAR, 7z) from the imaging center, or the loose .dcm files — even when they do not end in .dcm: the slices on a CD are usually named IM000001 and are DICOM all the same. On iPhone and iPad the file picker offers no folders, so choose the ZIP or select all the files at once.
Go to the slice and adjust brightness and contrast
Scroll through the slices to the one you want to export and adjust the window and level — the brightness and contrast — until what you care about shows up: lung, bone, soft tissue. It matters because the JPG captures the image exactly as you see it; whatever is crushed to white or black on screen will be just as crushed in the file.
Click “Download JPG” in the viewer toolbar
The slice on screen is downloaded as a JPG, generated on your own computer. If you need several slices, repeat: scroll, adjust, download. And keep the original DICOM files — the JPG is a copy for showing, not a replacement for the study.
Your X-ray should not be wandering through other people’s servers
Search for “dcm to jpg online” and the top results — Convertio, Aspose, GroupDocs and the like — share the same design: you upload your file to their servers, the conversion happens there and they hand you back the JPG. For a logo or some random document, that is fine. For a CT scan it is not: the file you upload carries the image of your body and, in its metadata, your name, your date of birth and the center where you were seen. That is sensitive personal data traveling to infrastructure you do not control, under whatever terms of service that site has decided on.
The alternative is not to trust harder: it is to have nothing to trust. The viewer on this page reads the DICOM, draws it and generates the JPG inside your browser — the conversion is a local operation, like opening a file with an installed program, except nothing is installed. You can check it yourself in the Network tab of your browser’s developer tools: while you open the study and download the JPG, your study never appears in any request. That is also why it asks for no account.
What the JPG of your study is — and what it stops being
Worth being clear about before you delete anything: the JPG you download is a photo of the slice, not the study. Useful for showing; not enough for reviewing. This is what gets left behind:
The window is frozen. The DICOM stores thousands of density levels and the JPG only 256 shades: you export the range that was on screen and the rest is discarded. In the JPG you can no longer go from a lung window to a bone window, because the data that made it possible is gone.
Measurements stop meaning anything. The DICOM declares how many millimeters each pixel measures; the JPG carries no such calibration. On the photo, all you can count is pixels.
The context of the study is lost. Series, slice position, acquisition parameters: none of that travels in the JPG. A loose slice does not say which part of the volume it came from.
None of this is a flaw of the viewer: it is what converting means. That is why the practical rule is a single one — the JPG is for showing (a message, a document, a printout) and the original DICOM files are always kept, because they are the only ones you can go back to and re-window, measure and compare. If what you have is the CD and you still cannot open it, start with how to open the CD of a CT scan.
To send the whole study, JPG is the wrong road
The button on this page converts the slice you see, one at a time. That is on purpose: a CT scan has hundreds of slices, and whoever receives it as JPGs receives hundreds of frozen photos, in no guaranteed order, with no adjustable window and no way to measure. No doctor wants to read that.
If the goal is for your doctor to see the study, the same viewer has a better way out: the share button generates a link encrypted on your own device that carries the whole study, navigable, with its tools. The decryption key travels inside the link and never to us — we cannot open what it stores — and the link expires on its own after 72 hours, after a limited number of openings. Whoever opens it sees the real study, with window, measurements and MPR, not a photo album. The details are in the online DICOM viewer, and if what you want to export is a single X-ray, the guide to viewing an X-ray online goes straight to that case.
Frequently asked questions
Does converting DICOM to JPG lose quality?
It loses information, which matters more than sharpness. A DICOM slice stores thousands of density levels and a JPG only 256 shades, so whatever range was not on screen when you exported is discarded: in the JPG you can no longer switch from a lung window to a bone window. The millimeter calibration is lost too, so nothing can be measured on the JPG. That is why it pays to adjust brightness and contrast before downloading, and to always keep the original DICOM files.
Is the JPG good enough to print?
Yes — to bring to an appointment, paste into a document or explain a finding to someone. The JPG comes out at the resolution of the original slice, so it prints well on letter-size paper. What it is not is a diagnostic film. The formal reading of a study is done on the DICOM, on displays calibrated for radiology, not on a printout.
Does the JPG carry my personal data?
The DICOM file’s metadata — your name, the date, the machine, the imaging center — do not travel inside the exported JPG: the JPG is only the picture of the slice. One honest caveat: some machines, especially ultrasound, write the patient’s name into the pixels of the image itself; if it appears burned into the picture on screen, it will appear in the JPG too.
Can I convert the whole study at once, or to PDF?
No. The "Download JPG" button exports the slice you have on screen, one at a time, and only to JPG. If what you need is for someone else to see the whole study, converting hundreds of slices is the wrong road: generate the encrypted share link from the viewer instead, which carries the entire study, navigable and with its measurements, and expires on its own after 72 hours.
Why not use Convertio, Aspose or GroupDocs to turn my .dcm into a JPG?
Because those converters work by uploading your file to their servers: the conversion happens there, with your study and your data inside it. A medical study is sensitive personal data, and the version that does not require trusting anyone is converting it without it ever leaving your computer. That is what the viewer on this page does: it reads the DICOM and generates the JPG inside your browser.